
The first KEY part of this project is a Cricut machine. Without this handy machine, this project would have never happened (who wants to hand cut 150 tags?). I knew what I wanted my final suite to look like, so I made a template.
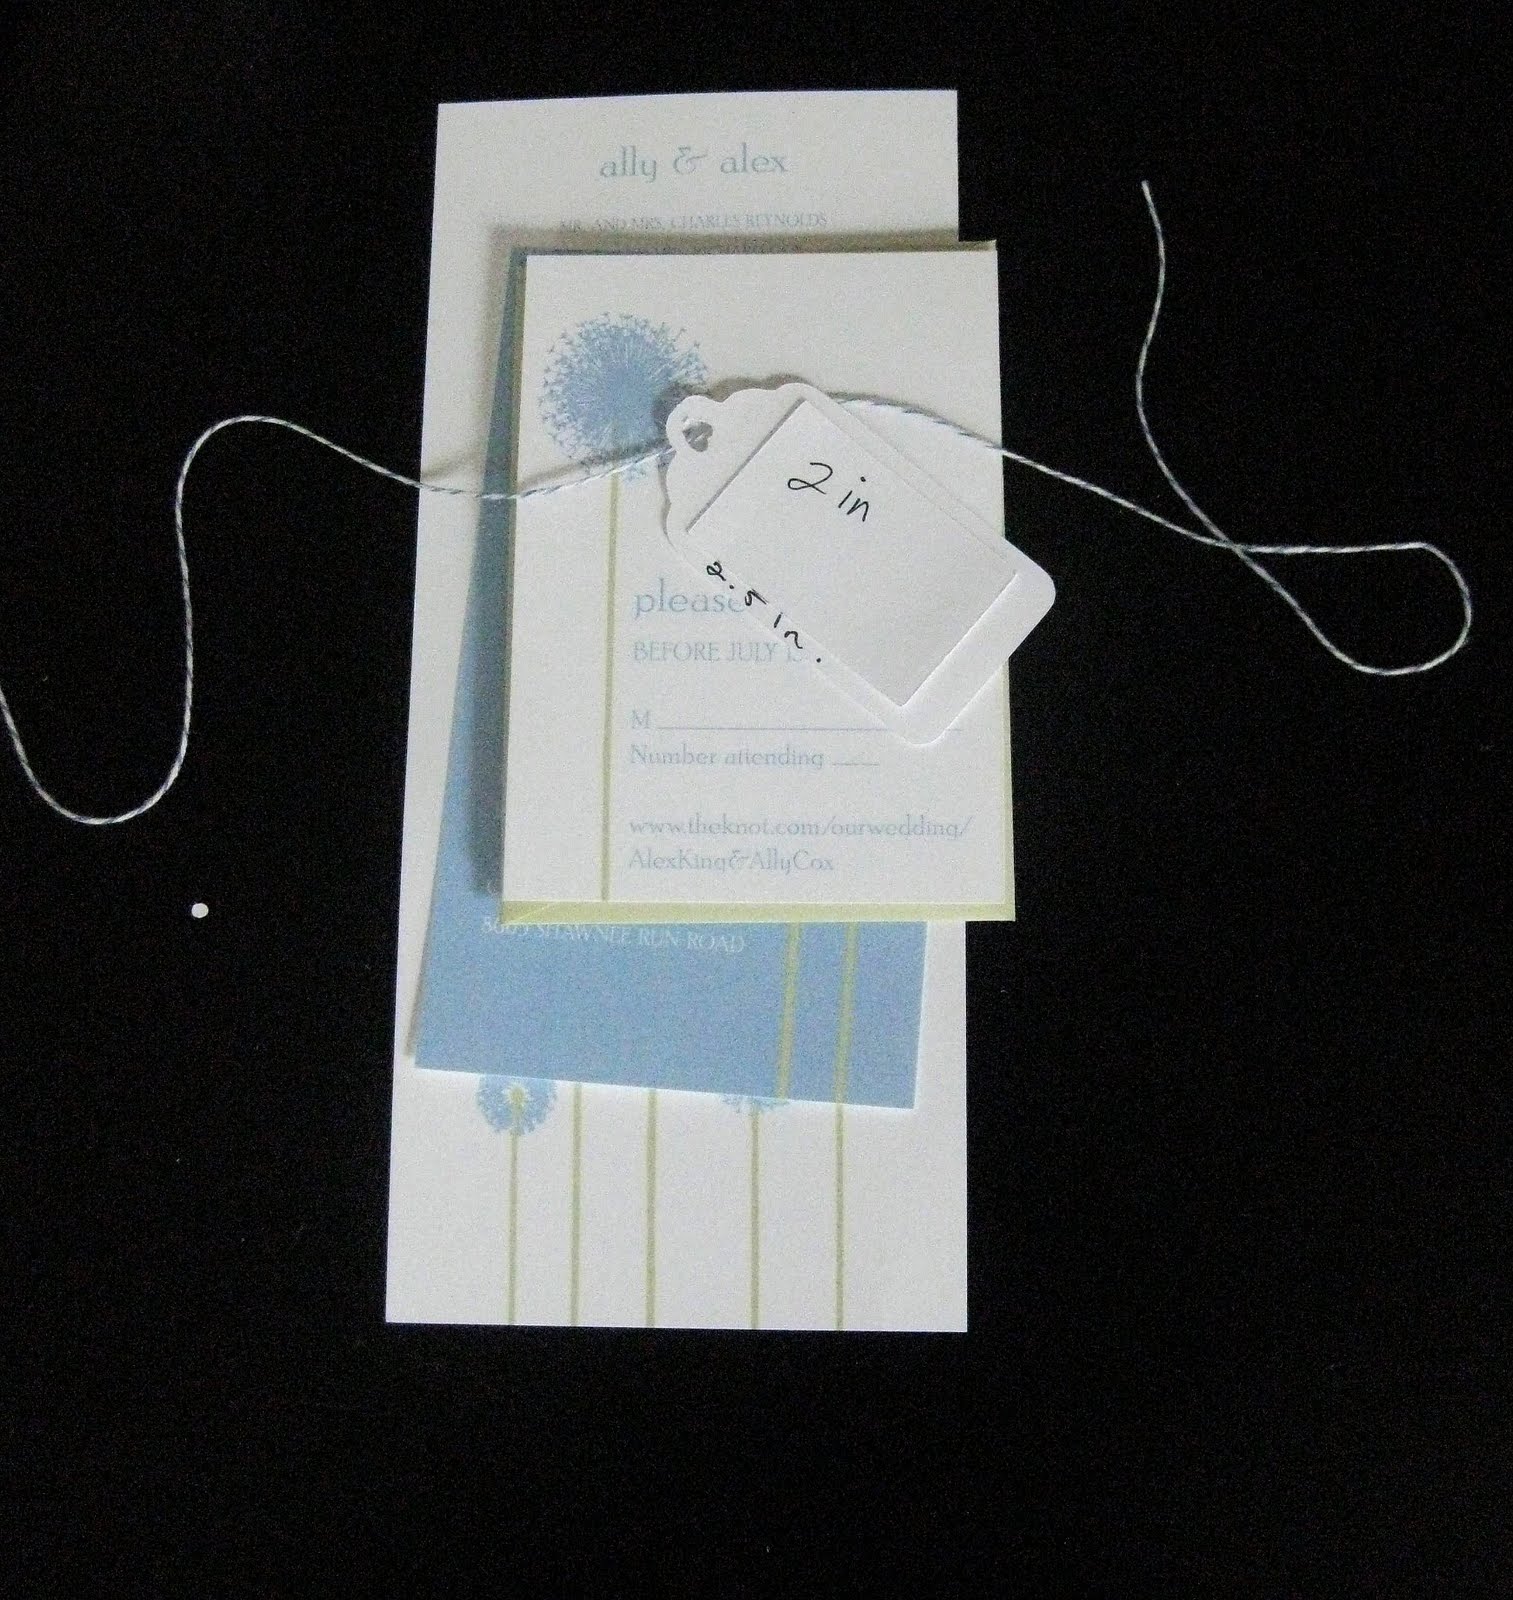
It took some trial and error to decide how big I wanted the tag to be, but I figured it out eventually. It is important that this step be done using scratch paper, as the paper that you will be using for your final project is generally more expensive.
Because I used a standard sized piece of scrap booking paper, and my machine can only take 6 inch wide paper, I had to trim it down (don't worry, I fed to excess into the machine and made tags from it as well!).

The next thing I did was lay the paper on the Cricut's self-adhesive mat, punch in the shape and size that I wanted for the tag, and let it rip!

Once I let the machine do its magic I was left with about 8 tags surrounded by extra paper that could not be used. I peeled away the excess paper and used my handy spatula tool to peel the tags off.

I followed the same process for the colored part of the tag. After a LONG afternoon of DIY Network and cutting I was left with a few cute little stacks to tag pieces.

I made both blue and green tags because I didn't want too much uniformity among the invitations. Also, if you look at the blue tag, notice that the hole is a heart! I did this with a cute heart shaped hole punch I found at Michaels.
Next, adhere the label part of the tag to the tag itself.

And stick.....

Et voila! Cute tags to send along with your invitations.

See the green one?!?
After all the tags were done, I whipped out my guest list and individually HAND STAMPED all the guest's names in a typewriter font on them in a light pink chalk ink. I then wrapped the entire suite in the twine and attached the tags. I must say, they turned out really cute and I am SUPER happy with them!
As always, I had a trusty companion at my side the whole time!

As always, subscribe to my blog!
No comments:
Post a Comment